PROTECTED SOURCE SCRIPT
Cập nhật S&D Elite Pro Timing V4
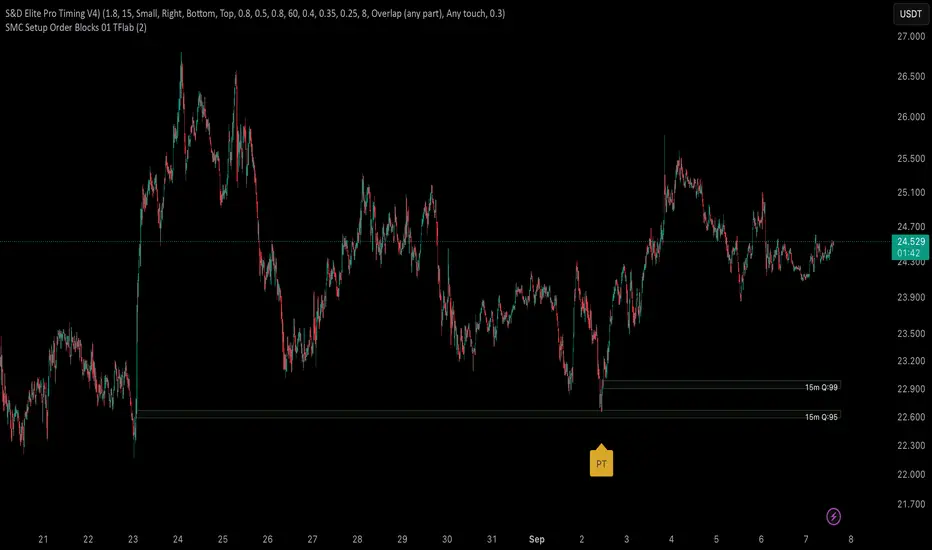
S&D Pro Elite — Pro Timing (PT) [Pro Zones]
A clean, signal-first Supply & Demand tool that maps institutional-style zones and prints a compact PT (Pro Timing) label only when a timing setup forms inside an active zone. Minimal UI, no clutter—just zones and timing where they matter.
Why
Some zones hold, some don’t. The trader’s job is to reduce noise. This tool is built to elevate signal-to-noise, remove distractions, and focus execution on the most structured areas of price.
What it does
Maps Supply & Demand zones across multiple timeframes with optional Quality Score (0–100) and opacity tinting.
Pro structures (Rally-Base-Rally / Drop-Base-Drop) via ATR-based impulse/continuation and a tight-base check.
PT labels (buy/sell) appear only when a Pro Timing setup forms in the zone (you choose what “inside” means: close inside / any overlap / wick only / full-body inside).
Mitigation-aware: optionally stop reacting to a zone after any touch, body touch, or a minimum penetration %.
One-switch control: Show Pro Zones master toggle, plus per-TF switches (3m…Weekly).
Alerts: PT Buy / PT Sell.
PT = Pro Timing
A compact price-timing confirmation detected when specific price-action conditions align within an S&D zone. Presented as a single, clean label—no counts or numerals.
How it works (brief)
Zone detection: impulse → base → continuation using ATR thresholds and base compactness; optional rule that the base sits inside the impulse range. Zones project right; broken zones auto-remove.
Quality Score: weighted blend of impulse strength, base tightness, and continuation body, with an inside-base bonus. You can filter out low-score zones and/or tint opacity by quality.
PT inside the zone: the PT label prints only when price meets your chosen zone-touch mode and the internal timing criteria.
Repainting
Forming Zones ON: boxes may change while the higher-TF candle is open (early heads-up by design).
Forming Zones OFF: zones and PT labels use confirmed data for the selected timeframes.
Settings (at a glance)
Pro Zone Options: Show Pro Zones (master), Forming Zones, per-TF toggles (3m…Weekly), Force Lower-TF Aggregation (1m base).
RBR/DBD Filter: Impulse min body × ATR(14), Base max body % of impulse, Base inside prior impulse (on/off), Continuation min body × ATR(14).
Quality Score: toggle, min score filter, opacity tint, adjustable weights (Impulse / Base / Continuation) + inside-base bonus.
PT × Zone Filter: Only show inside zones; trigger mode (Close inside / Overlap / Wick only / Body inside); stop after mitigation (Any touch / Body / Penetration ≥ %).
Visuals: Buy/Sell label colors + text colors; optional text inside zones (TF label, quality).
Recommended starting values
Zone Difference Scale: 1.6–2.0
Impulse min body × ATR: 1.6
Base max body %: 0.40–0.60
Continuation min body × ATR: 1.0–1.2
Min Quality Score: 60
Touch mode: Overlap (any part) for discovery; then tighten to Body inside or Wick only.
Usage tips
Start with 15m / 1h / 4h to build the backbone, add LTFs once structure is clear, and treat PT as timing confirmation inside structure—combine with trend/session/context and manage risk.
Script by Loganscottfx.
Educational tool; not financial advice. Markets involve risk.
Published as an indicator (not a strategy).
Phát hành các Ghi chú
Supply & Demand Elite — Zones Only (Lite)A minimal, signal-first indicator that plots institutional-style Supply & Demand zones across multiple timeframes—no labels, no signals, no scores. Built for clean charts and structure reading.
What it does
Draws S&D zones using an impulse → base → continuation model (RBR/DBD).
Multi-timeframe controls (3m…Weekly) with a single Show Zones master toggle.
Optional zone text (timeframe tag) and box borders/fills you can customize.
How it works (brief)
Impulse/continuation bodies are compared to ATR(14) thresholds.
The base is checked for compactness; you can require it to sit inside the impulse range.
Zones extend to the right and are removed once broken (clean maintenance).
Settings at a glance
Zone Settings: Difference Scale, extension length.
RBR/DBD Filter: Impulse × ATR, Base max %, Base inside impulse (on/off), Continuation × ATR.
Timeframes: Per-TF toggles (3m, 5m, 15m, 30m, 45m, 1h, 2h, 3h, 4h, D, W).
Text/Style: Show/Hide text, alignment, colors, borders.
Repainting note
With Forming Zones ON, boxes may adjust while the higher-TF candle is open (early heads-up by design).
With Forming Zones OFF, zones are based on confirmed data for the selected timeframes.
Recommended starting points
Zone Difference Scale: 1.6–2.0
Impulse × ATR: 1.6 | Base max %: 0.40–0.60 | Continuation × ATR: 1.0–1.2
Begin with 15m / 1h / 4h, then add LTFs once structure is clear.
This is the Lite version (zones only). For advanced options (e.g., Pro-level timing labels inside zones), see my profile.
Disclaimer
Educational tool; not financial advice. Markets involve risk. Published as an indicator (not a strategy).
Mã được bảo vệ
Tập lệnh này được đăng dưới dạng mã nguồn đóng. Tuy nhiên, bạn có thể sử dụng tự do và không giới hạn – tìm hiểu thêm tại đây.
Thông báo miễn trừ trách nhiệm
Thông tin và các ấn phẩm này không nhằm mục đích, và không cấu thành, lời khuyên hoặc khuyến nghị về tài chính, đầu tư, giao dịch hay các loại khác do TradingView cung cấp hoặc xác nhận. Đọc thêm tại Điều khoản Sử dụng.